Bathroom Waterproofing: The Foundation of a Durable, Leak-Free Space
Will your bathroom last for decades, or is mold already beginning to take hold beneath the tiles? Proper waterproofing is the only way to shield your home’s structure from water damage—a silent problem that can lead to repair costs totaling thousands of euros.
The bathroom is the most demanding "wet zone" in a home, where surfaces are constantly subjected to steam, direct water contact, and temperature fluctuations. Industry data suggests that nearly 80% of tile cracking and leakage issues stem from inadequate waterproofing. To ensure your renovation remains worry-free, the waterproofing must form a continuous, elastic barrier under the tiles, functioning much like a seamless rubber membrane.
Why Moisture-Resistant Drywall Needs Extra Protection
A common misconception is that "green" or moisture-resistant drywall is naturally waterproof. In reality, these boards are only treated to withstand higher humidity levels; when exposed to direct water, the paper facing eventually deteriorates and the gypsum core crumbles. This is why it is critical to apply a certified waterproofing system in shower enclosures and around bathtubs.
An improperly prepared substrate is one of the most common bathroom renovation mistakes, often resulting in tiles debonding or "popping." Thorough planning and the right materials are essential to prevent moisture from penetrating the structure or fueling hidden mold growth, which poses health risks and compromises the building's integrity.
Components of a High-Quality Water Barrier
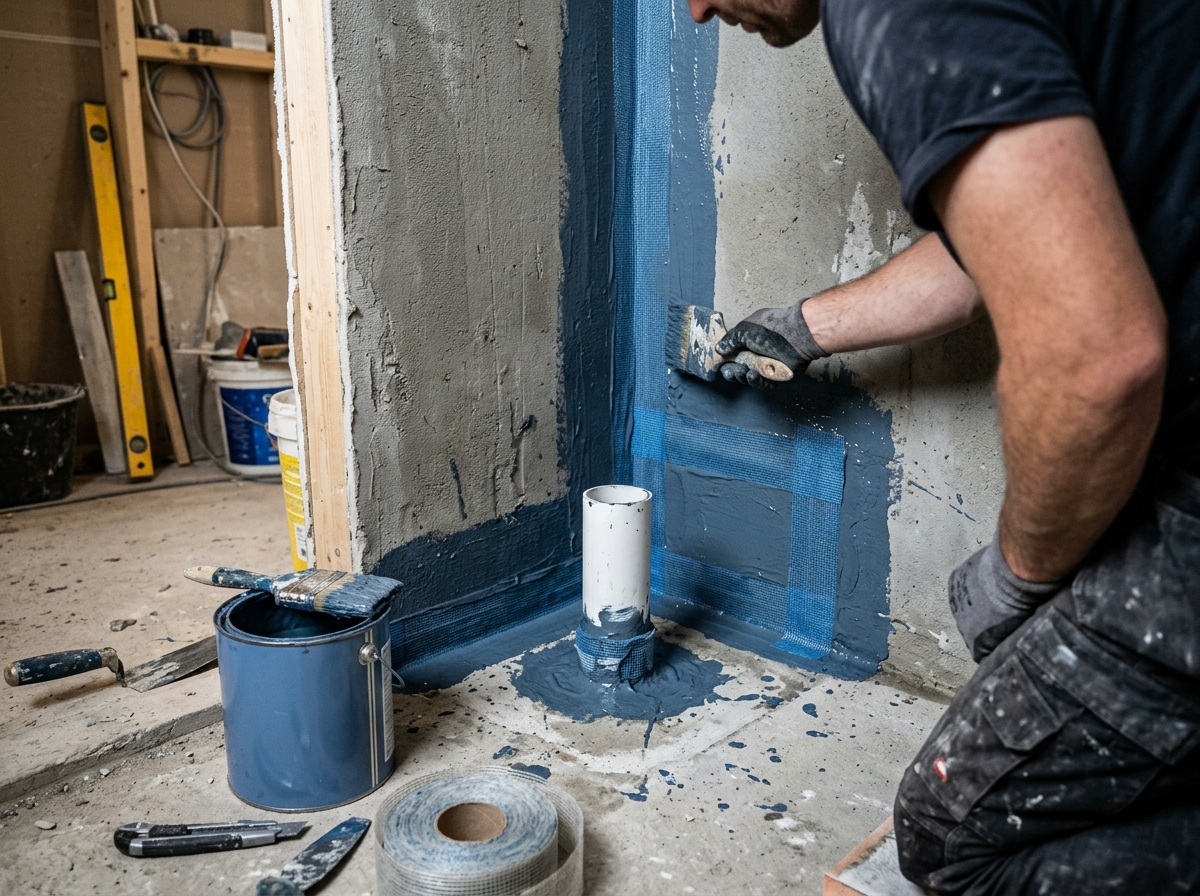
A professional-grade system consists of several components designed to work together as a single, impenetrable shield. The process begins with a primer, which seals the pores of the substrate and ensures the waterproofing membrane adheres firmly. Next, a liquid-applied membrane (often called waterproofing mastic) is applied, curing into a flexible, watertight layer.
To secure critical areas such as corners, joints, and pipe penetrations, the following accessories are indispensable:
- Sealing tape and pre-formed corner pieces to reinforce internal and external corners.
- Pipe collars (sleeves) to prevent water from seeping through wall penetrations and floor drains.
- Flexible liquid membrane, which must be applied in at least two distinct coats.
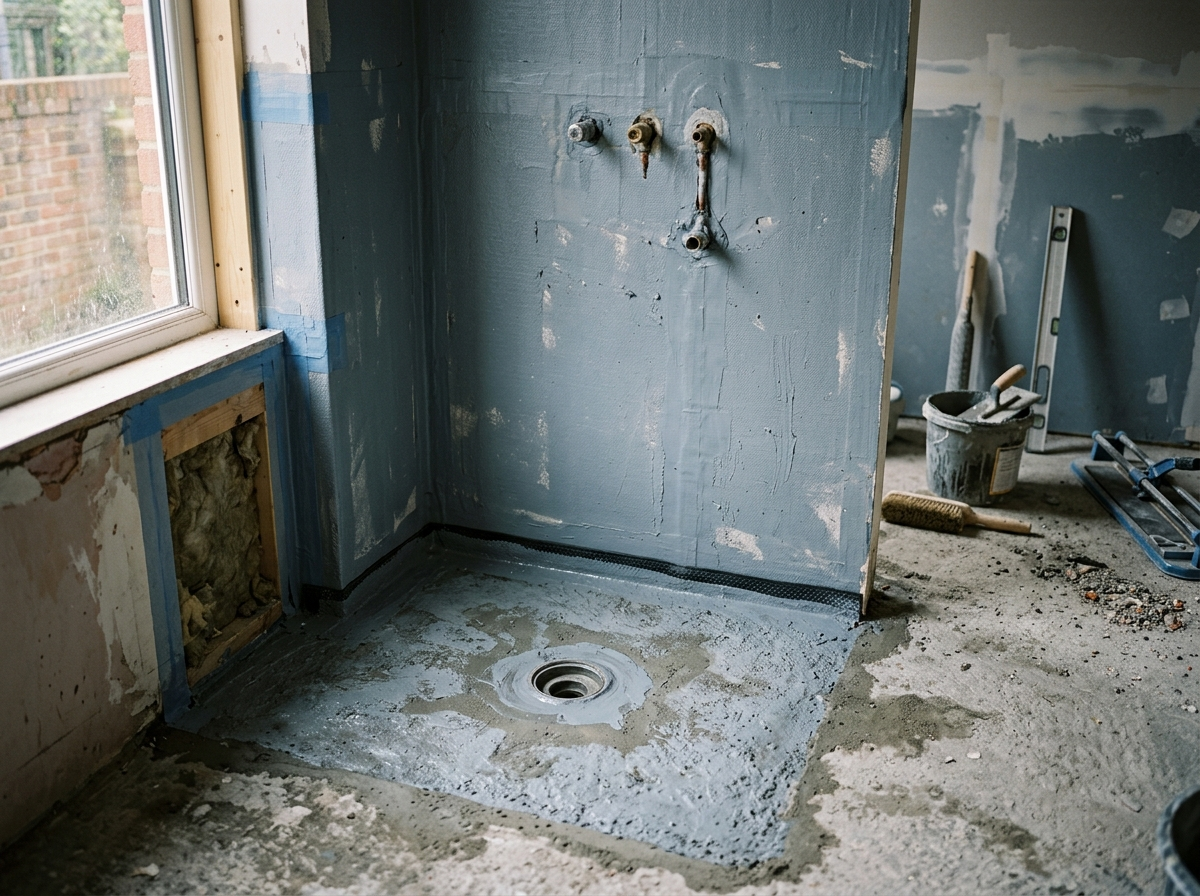
Substrate Preparation and Priming
Before application, ensure the drywall is securely fastened to the framing and that the surface is clean, dry, and free of dust. Any imperfections or recessed screw heads should be smoothed with a moisture-resistant filler to prevent air pockets from forming under the membrane. The substrate must be rigid; excessive deflection or "flex" in the walls can eventually rupture both the waterproofing layer and the tile grout.
Priming is a non-negotiable step. Because drywall is highly absorbent, it can pull moisture out of the liquid membrane too quickly, leaving the waterproof layer brittle and poorly bonded. The primer regulates this absorption, creating the ideal surface for the membrane to grip.
Addressing Critical Areas and Applying the Membrane
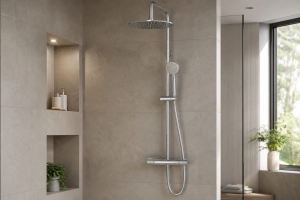
The integrity of a wet room depends on the details. Start by sealing all corners and penetrations. Apply the liquid membrane to internal corners, drywall joints, and around pipes, then press the reinforcing tape or collars into the wet product. Immediately cover them with a second layer of membrane. It is vital that the floor-to-wall tape extends at least 5–10 cm onto both surfaces, creating a "tanked" or basin-like effect. In shower areas, wall waterproofing should reach a height of at least 190 cm or, depending on the project specs, all the way to the ceiling.
Once the joints and details are sealed, apply the first full coat of the membrane to the entire surface using a roller or brush. After the first coat has dried (typically 2–4 hours), apply a second coat, ideally perpendicular to the first. This "cross-coating" technique ensures total coverage with no "pinholes" or thin spots. The system must be allowed to cure completely—usually 12–24 hours depending on humidity and ventilation—before tiling begins.
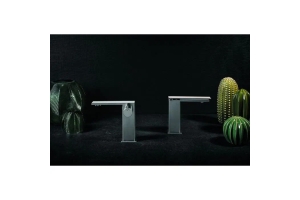
Tile Selection and Finishing Touches
Once the technical foundation is secure, you can focus on the aesthetic design. For bathroom floors, prioritize slip-resistant materials to ensure safety. The Scandinavian-inspired Arctic Grey 10x10 is an excellent choice for shower floors; smaller formats make it much easier to achieve the precise slope required for efficient drainage.
For walls, current trends lean toward large-format tiles, such as the polished Root Ash 60x120, which creates a high-end look with minimal grout lines. In smaller bathrooms, classic marble patterns like Lucie Grey or a clean Matt White help brighten the space and create an airy feel.
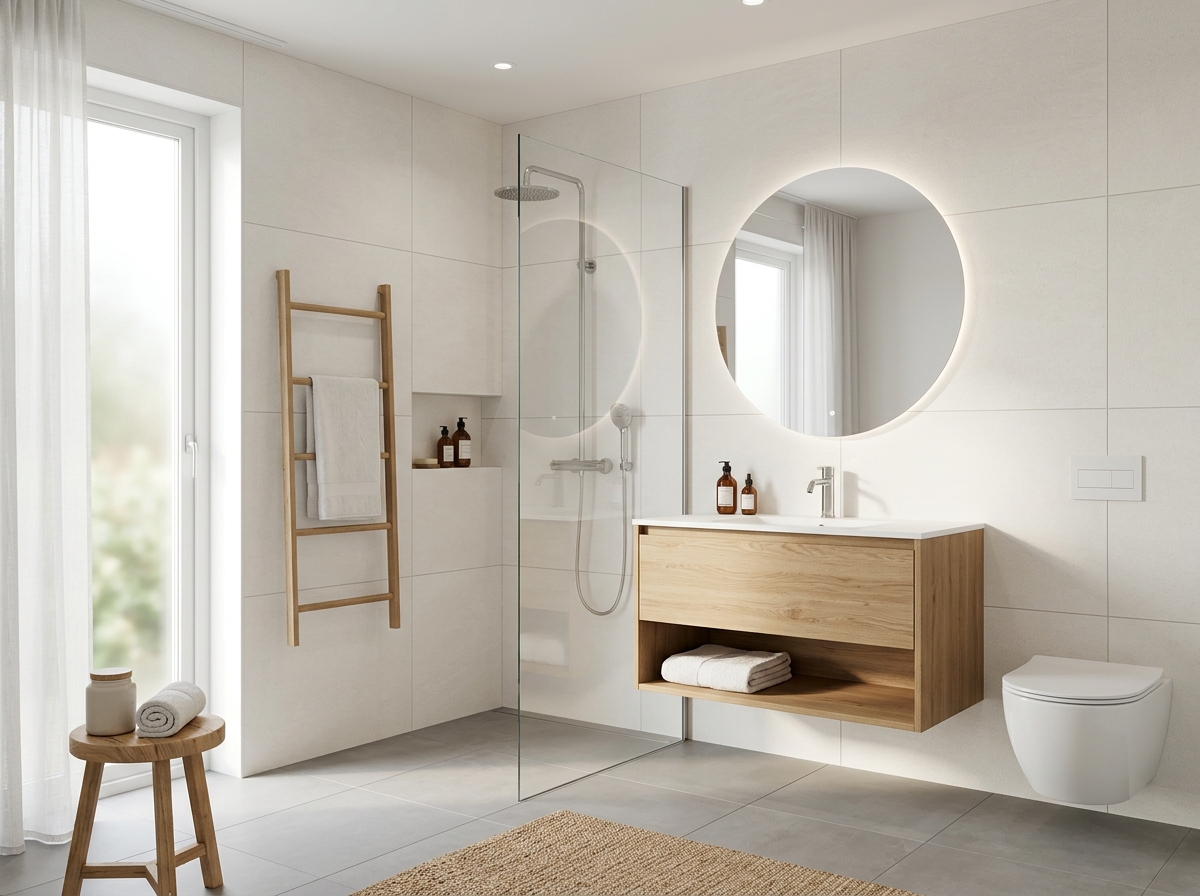
When it comes to installation, always use a flexible tile adhesive (rated C2). This allows the tile layer to withstand micro-movements in the building's structure without damaging the underlying waterproofing. For more advice on choosing the right finishes, see our guide to selecting bathroom materials.
As any comprehensive guide to installing and maintaining ceramic tiles will note, rushing the preparation phase is the most common cause of long-term failure. To ensure your bathroom is as durable as it is beautiful, explore Vipex’s wide range of ceramic tiles or visit our showroom to speak with a specialist about your project.