


Apartment Bathroom Renovation: A Complete Guide
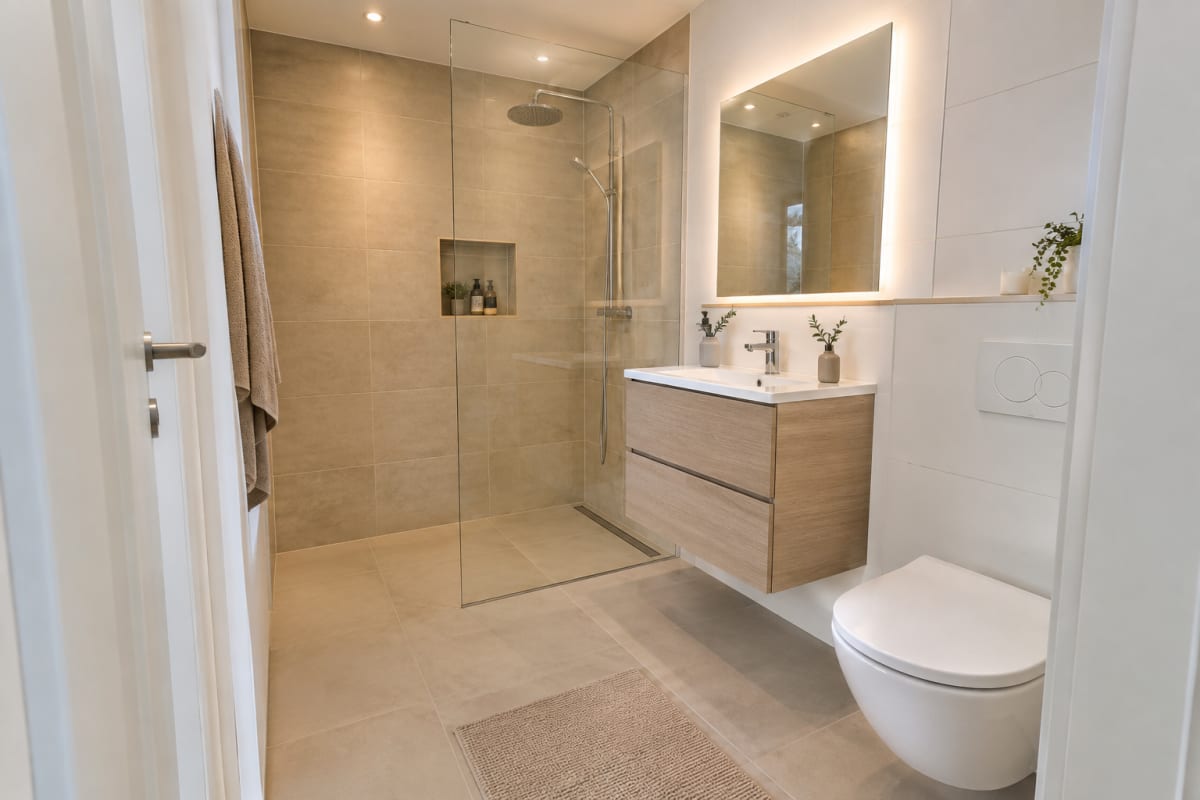
A single plumbing mistake in an apartment bathroom can trigger catastrophic water damage across several floors below. Remodeling a wet room in a multi-unit building means navigating far more than just design choices—it requires coordinating with your building's management, respecting shared property boundaries, keeping neighbors on your side, and adhering strictly to technical standards. This comprehensive guide walks you through every stage of the planning process so you can avoid costly missteps and create a durable, beautiful space.
Legal Requirements and Building Approvals
Renovating an apartment bathroom requires far more coordination than remodeling a freestanding home. Because load-bearing structures, primary drainage stacks, and main water risers are common property, you must clear certain hurdles before demolition starts:
- Notify building management: Inform your apartment association or building board well before shutting off water supplies or swinging a sledgehammer. Any modification involving shared utility risers, communal heating radiators, or shared ventilation shafts demands formal written approval.
- Obtain permits for structural changes: Reconfiguring your floor plan—whether removing non-load-bearing partitions or extending the bathroom footprint—often requires a building notice and certified architectural drawings. Discover more in our guide on how to start renovating a house or apartment.
- Respect house rules and quiet hours: Multi-family dwellings enforce strict quiet hours. Schedule noisy demolition and drilling exclusively during permitted daytime hours, and post a courteous notice in the building lobby or stairwell to give neighbors fair warning.
Budgeting and Cost Drivers
The final cost of an apartment bathroom remodel depends on the room's square footage, the quality of finishes chosen, and whether the underlying layout changes:
- Labor costs: Expect trade labor to account for roughly 40% to 65% of your total budget.
- Plumbing layout: Keeping the toilet, vanity, and shower drains in their original spots significantly reins in costs. Rerouting waste pipes and water lines requires licensed specialist labor, core drilling, and additional fittings.
- Contingency reserves: Set aside a 10% to 20% buffer for unforeseen conditions uncovered during tear-out, such as corroded pipework, deteriorated subfloors, or out-of-square walls.
Technical Specifications: Ventilation, Electrical, and Heating
Wet rooms in multi-family buildings are subject to rigorous safety and building codes designed to protect the building envelope.
Ventilation and Moisture Control
Relative humidity can spike well past 60% within 30 minutes of a hot shower, creating an ideal breeding ground for mold and mildew. Effective air exchange is crucial to protect your health and the building's structural integrity. Exhaust air must vent directly through dedicated mechanical ductwork or communal ventilation shafts—never into living areas or wall cavities. Learn how to optimize airflow in our guide on how to ensure proper bathroom ventilation.
Electrical Safety in Wet Zones
Because electricity and water are a hazardous mix, all bathroom circuits must be protected by an individual residual current device (RCD/GFCI). Light fixtures, exhaust fans, and electrical switches installed near water zones must meet appropriate ingress protection ratings—at least IP44 for splash zones. Discover code-compliant fixtures in our bathroom lighting collection.
Heating and Underfloor Systems
A reliable heat source keeps tile surfaces comfortable underfoot while rapidly evaporating standing moisture. In apartment retrofits where floor build-up height is strictly limited, ultra-thin electric heating mats or cable systems are ideal—they integrate seamlessly within the tile adhesive layer without requiring a thick screed. Learn more about these solutions in our article on underfloor heating in the bathroom.
The Step-by-Step Renovation Sequence
Adhering to a logical construction sequence prevents costly rework and project delays. Before breaking ground, review our roundup of common bathroom renovation mistakes.
1. Demolition and Site Preparation
The process starts with disconnecting fixtures, stripping old tiles, and removing obsolete pipework. In older apartment blocks, test vintage pipe insulation and wall materials for hazardous substances like asbestos before disturbing them.
2. Rough-In Plumbing and Electrical
Once framing and masonry are exposed, trades install new water supply lines, waste plumbing, electrical conduits, and ventilation ducting. Rigorous pressure testing of all plumbing lines is mandatory before sealing walls and subfloors.
3. Waterproofing
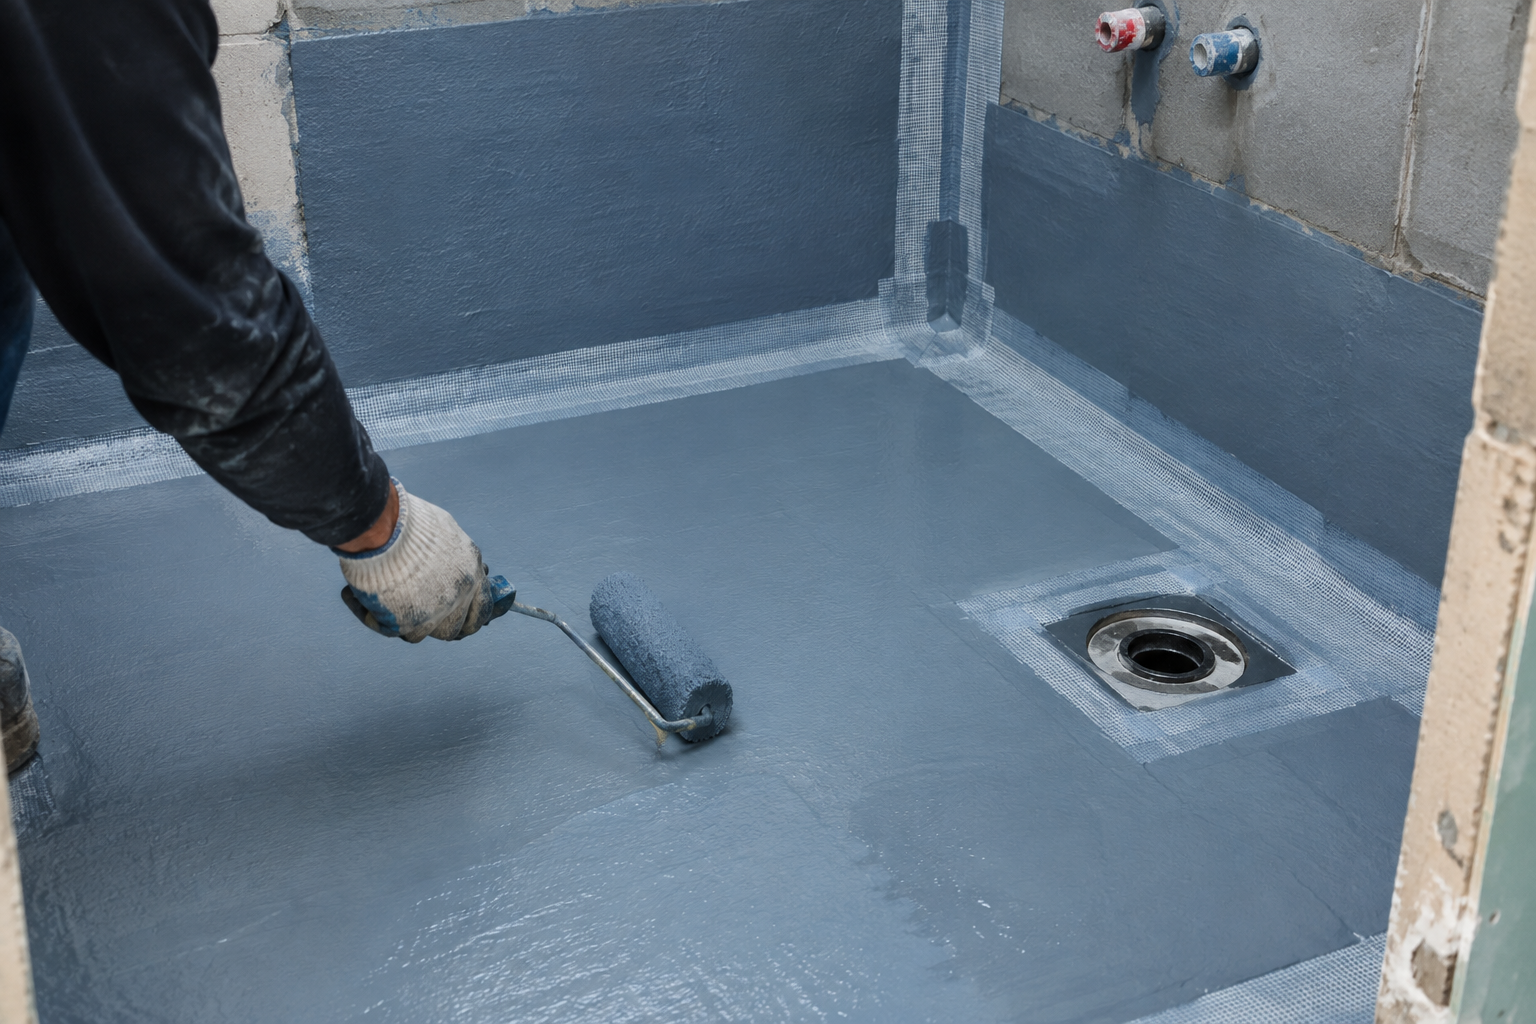
Waterproofing is the single most critical step in preventing catastrophic leaks. A comprehensive barrier requires an approved primer followed by an elastic liquid waterproofing membrane. Reinforce all wall-to-floor junctions, corners, and pipe collars with specialized sealing tape to form a continuous, impermeable tanking envelope. For detailed application steps, read our guide on bathroom waterproofing under tiles.
4. Tiling and Grouting
After the waterproofing membrane has cured completely, tile installation begins using high-performance, water-resistant thin-set mortars and grouts. Floor tiling must maintain an intentional, continuous pitch toward the drain to prevent puddling. For further construction insights, consult our guide on how to build a bathroom.
5. Fixtures, Cabinetry, and Final Fit-Out
The final phase brings the room to life: installing the vanity unit, hanging mirrors and lighting, and connecting the faucets, shower enclosure, and toilet suite.
Space-Saving Design Strategies for Apartment Bathrooms
Because apartment bathrooms often feature compact footprints, intelligent layouts and space-efficient furnishings make all the difference:
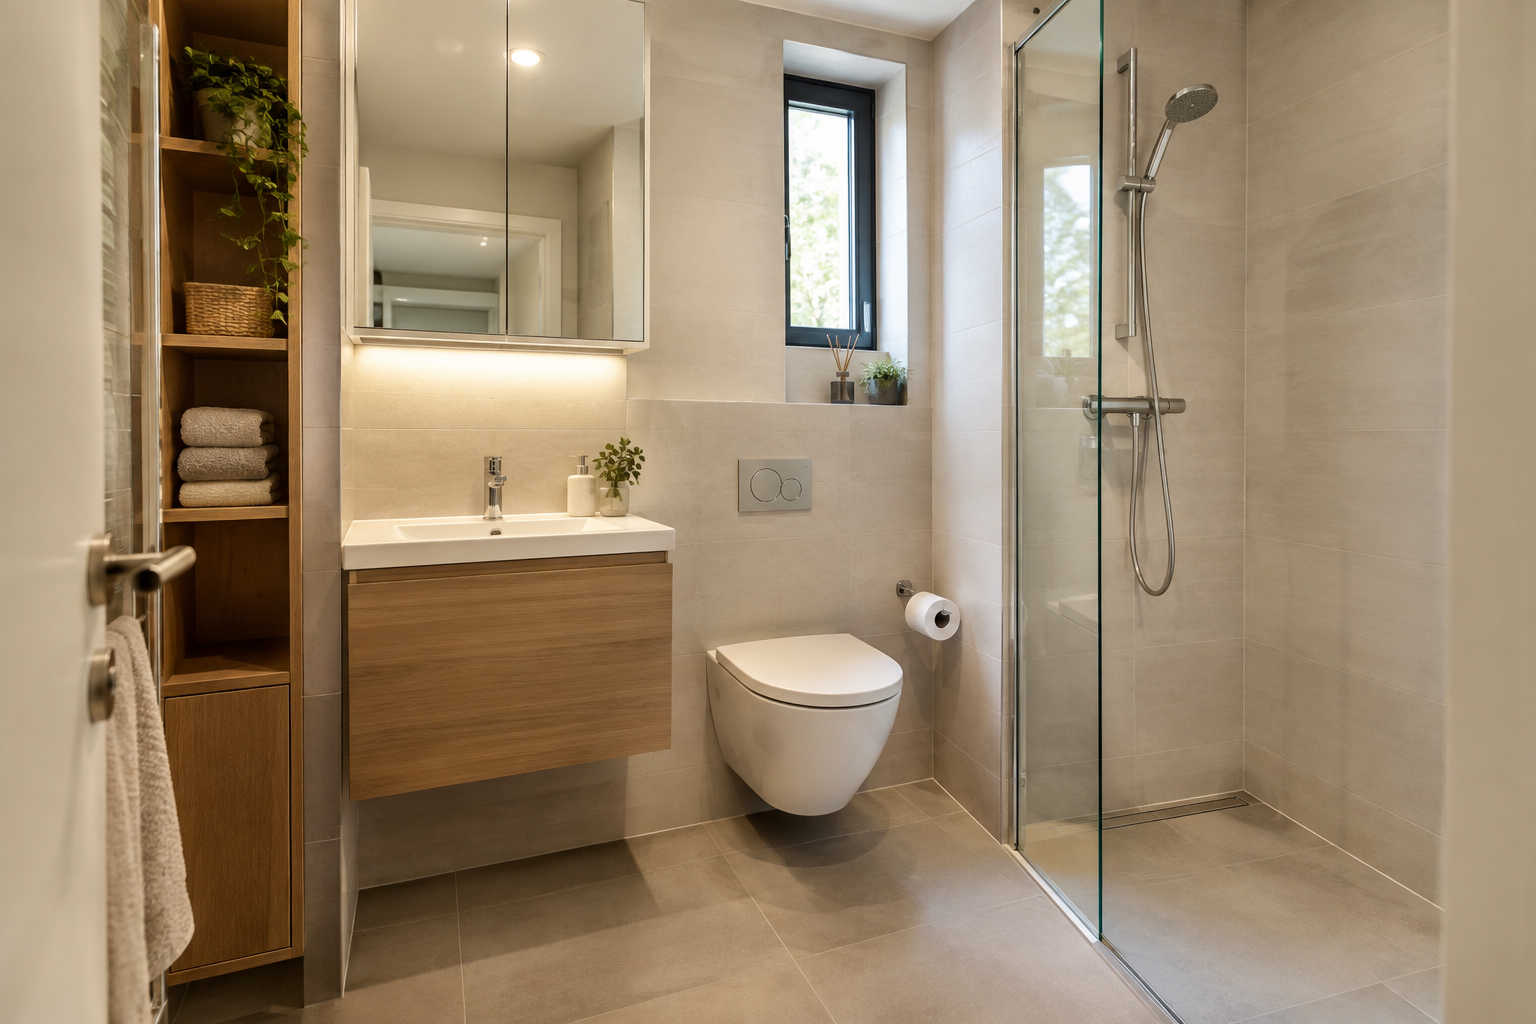
- Maintain ergonomic clearances: Preserve at least 53 to 70 cm of open floor space in front of the vanity and toilet to ensure comfortable movement and prevent cabinet doors from colliding. Find creative layout concepts in our bathroom design overview.
- Select wall-mounted storage: Floating bathroom furniture leaves the floor surface visible beneath, visually expanding the room while making floor cleaning effortless.
- Opt for proportional vanities: Streamlined options include the minimalist Laufen Pro vanity unit with basin, the warm Harma Serena 610 mm vanity unit in light oak, the generous two-drawer Kame D-Line vanity base, or the sleek Harma 60 cm vanity unit with basin.
- Streamline with all-in-one sets: If you want an integrated look without the hassle of matching separate pieces, the Harma AIO basin, vanity unit, and mirror set delivers a clean, coordinated aesthetic.
- Capitalize on vertical space: Maximize unused wall height with slender wall cabinets, such as the Harma tall wall cabinet in gloss white or the textured Harma Serena wall cabinet in light oak.
- Double up on utility: When square footage is tight, recessed or surface-mounted mirror cabinets combine essential grooming illumination with concealed, eye-level toiletries storage.
For deeper dives into compact layouts and smart interior styling, read our guides on planning a small bathroom, choosing practical vanity units, and the fundamentals of bathroom furnishing.
Thoughtful space planning, rigorous craftsmanship, and premium moisture-resistant finishes are the keys to a bathroom that performs reliably for decades. Browse our complete range in the bathrooms and showers department or visit our showroom to explore wall and floor tiles, sanitary fixtures, and furniture tailored to modern apartment living.