


Choosing Bathroom Accessories: Materials, Finishes, and Mounting Heights
Why does one towel bar corrode and pit after barely two years, while another looks immaculate after a decade? Price rarely tells the whole story. Long-term performance comes down to the core substrate, the surface finish, and whether the hardware was installed correctly. Here is how to navigate materials, finishes, and ergonomic mounting heights to ensure your bathroom hardware lasts.
The golden rule: Select hardware from a single collection to keep finishes consistent. Choose solid brass or stainless steel, lean toward brushed or PVD finishes if you deal with hard water, map your layout before drilling, and always seal penetrations in tiled walls with sanitary silicone.
| Accessory | Recommended Mounting Height (from Finished Floor) | Key Considerations |
|---|---|---|
| Towel bar | 1,100–1,200 mm | Fasten into solid backing or studs to withstand heavy daily use |
| Robe hook | 1,650–1,780 mm | Space adjacent hooks at least 23 cm apart |
| Toilet paper holder | ~660 mm (to centerline) | Set 20–30 cm forward from the front rim of the toilet bowl |
| Shower soap dish | 1,120–1,370 mm | Position outside the primary water stream |
| Toilet grab bar | 840–910 mm | Must support a minimum load of 1,112 N (250 lbf) |
The Essential Accessory Set
Rather than shopping from a generic checklist, plan your accessories around functional zones. Each area experiences different levels of moisture, mechanical stress, and foot traffic:
- Vanity zone: Soap dispenser or dish, tumbler holder, towel ring or compact rail, and an auxiliary shelf.
- Toilet zone: Toilet roll holder, spare roll storage, and a toilet brush (either wall-hung or freestanding).
- Shower and bath zone: Hand shower wall bracket, shower caddy or corner basket, soap holder, and a curtain if using an open enclosure.
- Drying zone: Full-length towel bar or heated towel rail, robe hooks, and a plush bath mat.
In compact bathrooms, dual-purpose fixtures save space and minimize wall penetrations. The Deante ROUND toilet paper holder, for example, incorporates a flat top shelf for small essentials, eliminating the need for a separate wall bracket. For more spatial strategies, see our guide on planning a small bathroom.
Sourcing pieces from a dedicated series—such as the Deante SILIA soap dispenser, freestanding toilet brush, and single hook—guarantees an exact finish match and unified design language, creating a refined aesthetic even in high-density layouts.
Materials: Stainless Steel, Brass, or Zinc Alloy
The true durability of any fixture lies beneath its decorative plating. The surface coating protects the piece, but the base metal determines how it handles damp, humid air over time.
- AISI 304 Stainless Steel: The benchmark for residential bathroom design. According to the British Stainless Steel Association (BSSA), grade 304 resists crevice corrosion and pitting as long as environmental chloride concentrations remain under 200 ppm.
- AISI 316 Stainless Steel: Formulated with molybdenum for exceptional chloride resistance up to roughly 1,000 ppm. Grade 316 is the standard for coastal properties, indoor pools, wellness facilities, and commercial environments exposed to harsh sanitation chemicals.
- Solid Brass: Whether chrome-plated or treated with a PVD coating, brass provides superior structural strength and natural resistance to corrosion.
- Zinc Alloy (Zamak): Common in entry-level accessories because it casts easily into intricate shapes at a lower production cost. However, zinc has low intrinsic corrosion resistance. If the surface plating micro-cracks, chips, or wears thin, moisture penetrates the core, causing the alloy to deteriorate and blister rapidly.
Rule of thumb: In direct wet zones or for load-bearing hardware—such as shower baskets, grab bars, and primary towel rails—always specify stainless steel or brass. Reserve zinc alloy for lightweight accessories in dry zones, such as cosmetic mirrors or secondary vanity hooks.
Finishes: Chrome, PVD, and Matte Black
In regions with moderately to very hard water, choosing a finish is as much an operational decision as a stylistic one. According to AS Tallinna Vesi, tap water hardness in Tallinn peaks at 2.5 mmol/l during winter and spring, settling around 1.8 mmol/l in summer and autumn (10–14 °dH). Tartu Veevärk reports tap water hardness levels between 1.7 and 4.5 mmol/l (9.5–25.2 °dH), with the highest mineral concentrations in the city’s northern sector. Private well water can be even harder.
Here is how common finishes perform under these conditions:
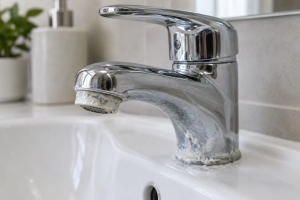
- Polished Chrome: A resilient, classic finish that wipes clean effortlessly. However, minerals left by evaporating water droplets dry into noticeable white rings on mirrored surfaces.
- PVD Coatings: Physical Vapor Deposition is a vacuum-coating technique that bonds a vaporized metal layer directly onto the substrate at an atomic level. The resulting surface is exceptionally dense and scratch-resistant. In benchmark testing by Hansgrohe, PVD surfaces endured 500 scrub cycles under a 300-gram weighted abrasive pad without surface failure. PVD is the premier finish for brushed brass, warm bronze, and gunmetal titanium.
- Matte Black: Typically produced through industrial powder coating or PVD. Fixture manufacturer Roca emphasizes that pale mineral deposits stand out sharply against deep matte tones. If you have hard water and prefer not to wipe down hardware after every shower, brushed stainless or titanium finishes conceal water spots far better.
Maintenance: Clean hardware with a damp microfiber cloth and mild dish soap, then rinse clean and dry thoroughly. Moen advises against scouring pads, steel wool, abrasive creams, and harsh chemical scale removers. Because vinegar guidelines vary across brands—some manufacturers permit mild, diluted solutions while others void warranties for using any acid-based agents—always check the care manual. For in-depth advice, read our guide on choosing bathroom fixtures for hard water.
Ergonomic Mounting Heights
Awkward accessory placement causes daily frustration. The following installation heights adapt recommendations from the National Kitchen & Bath Association (NKBA) and ADA standards for ergonomic functionality:
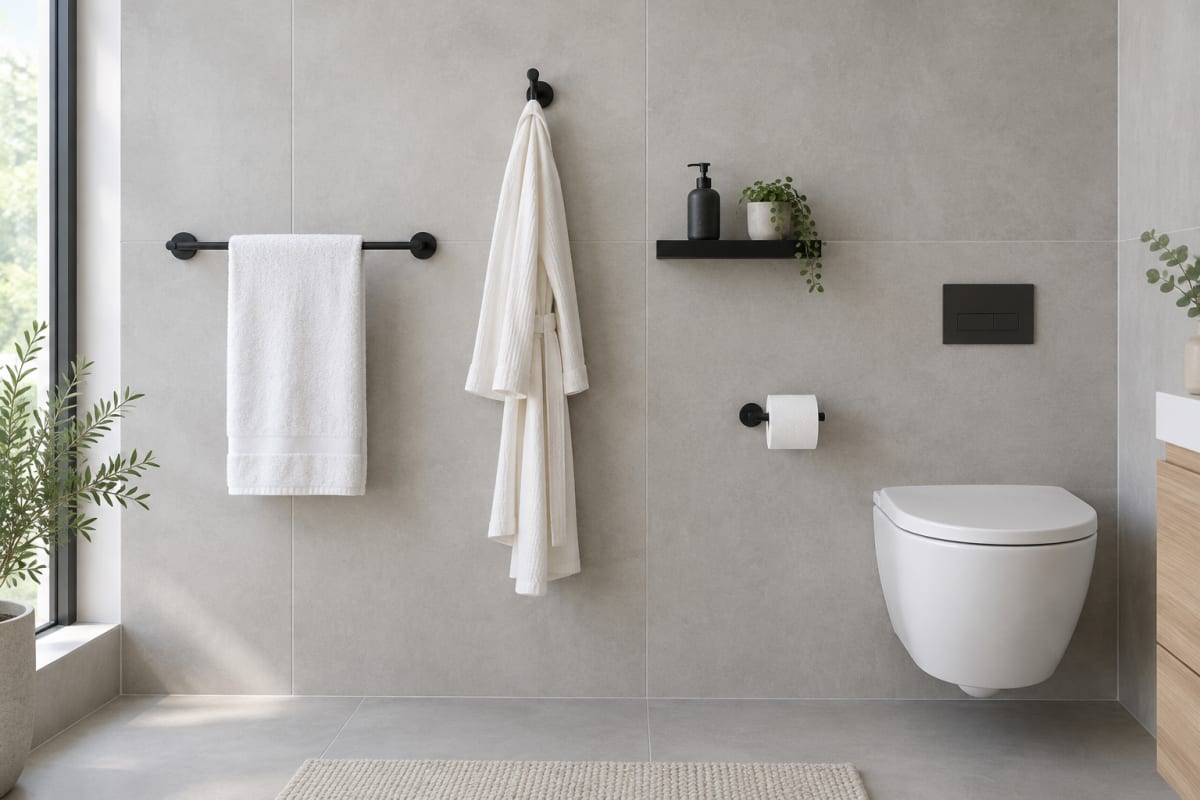
- Towel bar: 1,100–1,200 mm above finished floor level. When hanging oversized bath sheets, lift the rail slightly higher so the fabric clears the floor and stays off baseboard heaters.
- Robe hooks: 1,650–1,780 mm from the floor, spaced at least 23 cm apart so garments and damp towels can air out properly.
- Vanity hand towel hooks: 10–20 cm above the countertop (typically 850–1,000 mm above finished floor level).
- Toilet paper holder: Position the centerline roughly 660 mm from the floor and 20–30 cm forward from the front rim of the toilet bowl. Mounting a holder too far back forces users to twist awkwardly.
- Shower soap dish and caddy: 1,120–1,370 mm from the shower floor. Shower gel dispensers should sit 10–15 cm above or beside the thermostatic mixer control.
Layout example: Along a 2-meter wall accommodating a wall-hung toilet and an 850 mm vanity, install the toilet roll holder on the adjacent return wall at a height of 660 mm, about 25 cm forward of the toilet bowl rim. Mount a towel ring next to the basin at 1,100 mm for easy reach without dripping water onto the floor. Place a face towel hook above the vanity counter at 950 mm. Always mock up placement using painter's tape to verify that vanity drawers, glass shower doors, and mirrored cabinet panels open cleanly without clipping wall hardware.
When coordinating a complete renovation, cross-reference your dimensions with the specs of your bathroom furniture and mirror cabinets to prevent layout conflicts.
Screws vs. Adhesive Mounts
Drilling into Tiles
Mechanical screw fixings provide the ultimate load capacity and remain the only viable choice for grab bars, wide towel rails, and heavy shower shelves. When drilling through tile:
- Apply masking tape over the drill mark to keep the bit from slipping across the smooth glaze.
- Use a diamond-tipped core bit for hard porcelain stoneware. Standard carbide masonry bits quickly overheat and dull against dense porcelain, though they work well on soft glazed ceramic wall tiles.
- Switch off the drill's hammer mode; percussive impact will shatter or crack the tile.
- Whenever possible, align holes directly into grout lines. Grout is softer to drill, lowers the risk of tile damage, and can be patched invisibly if hardware is moved later.
- Vacuum all dust from the hole, inject a bead of neutral-cure sanitary silicone into the opening, insert the wall plug, and drive the screw home. The silicone forms a watertight gasket that prevents moisture from tracking behind the tile.
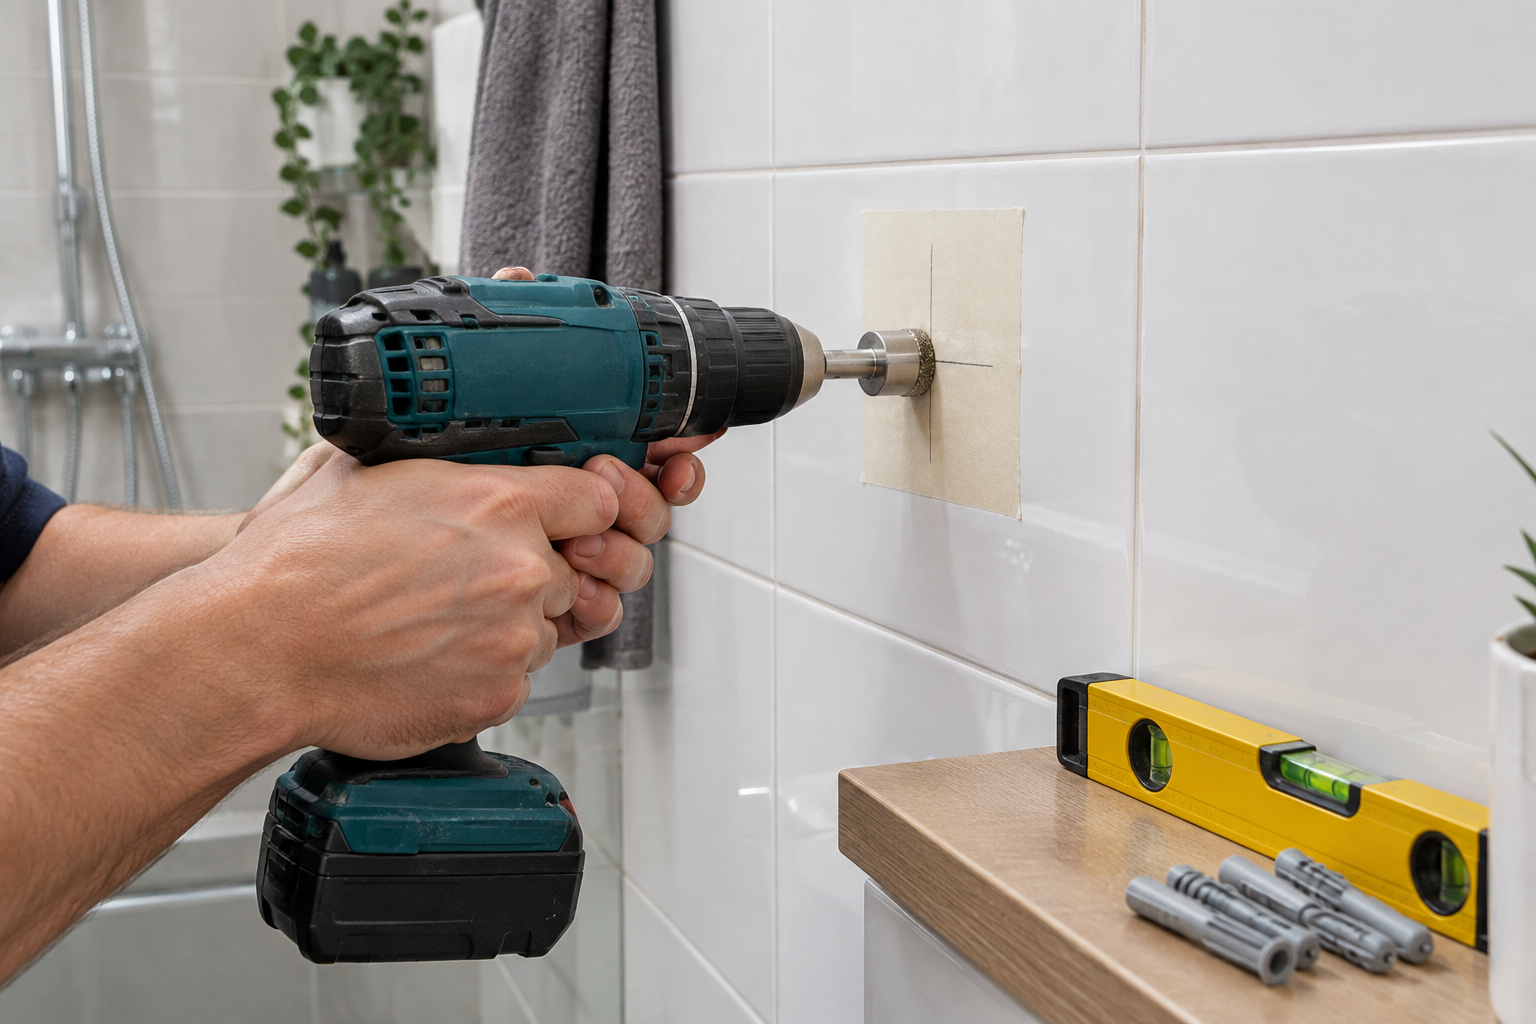
Sealing wall penetrations in wet zones is essential. Every drilled hole breaches the tile and perforates the under-tile waterproofing membrane. The German wet-room standard DIN 18534 outlines stringent sealing requirements for wall penetrations, and purpose-built sealing collars and expanding plugs are widely available. To avoid penetrating critical wet areas altogether, consider building recessed shower niches into the wall during rough-in, or use caddies that hang over glass panels or clamp directly to the shower riser rail.
Self-Adhesive Accessories
Adhesive mounting is an attractive, non-invasive option for rental homes or walls where concealed pipes and electrical conduits run close to the surface. However, respect their structural limitations:
- Weight ratings generally cap out at 2.5–5 kg. The static weight of a damp bath sheet combined with the downward tug of daily use can easily exceed this limit.
- Adhesives demand an ultra-flat, non-porous, degreased surface: glazed tile, smooth glass, or polished composite. They will not bond reliably to drywall, paint, textured tile, or porous stone.
- Adhesives require a full 12 to 24 hours to cure under zero load. Keep the mounting plate dry and free from bathroom steam during this initial bonding window.
Stick-on hooks are great for lightweight hand towels beside a vanity, but wide towel bars and wire shower racks should always be mechanically anchored.
Bathroom Textiles: Bath Mats and Shower Curtains
Bath mats must balance underfoot comfort with rapid drying times to prevent mold from gaining a foothold:
- Memory foam provides exceptional cushioning and thermal insulation on cold floors, but its dense core holds water longer. It requires a well-ventilated bathroom to dry out thoroughly between showers. Harma memory foam bath mats measure 50×80 cm and come in an array of neutral tones that blend into contemporary schemes.
- Cotton offers natural absorbency and can be machine-washed at 60 °C to eliminate bacteria. If the mat features a non-slip latex backing, avoid high-heat tumble drying, which degrades the rubber over time.
Shower curtains: Polyester fabric curtains can be washed on a gentle cycle without fabric softener to preserve their water-repellent coating. PEVA and vinyl curtains should be wiped down or hand-washed in lukewarm water—never put them in a clothes dryer. To keep mildew from taking root in damp folds, always draw the curtain fully across the rail after showering so it dries flat. Explore our full range of durable shower curtains.
For more strategies on keeping dampness in check, consult our guide on preventing bathroom mold.
Grab Bars: Safety and Fastening Over Aesthetics
A grab bar is an engineered structural safety fixture, not an upgraded towel rail. If your space caters to seniors or individuals with limited mobility, hardware must be rated for dynamic fall loads. ADA safety standards mandate that grab bars, their mounting plates, and the supporting wall structure withstand a point load of at least 1,112 N (250 lbf) applied in any direction. When installed adjacent to a toilet, the top of the gripping surface should sit 840–910 mm above finished floor level.
Standard drywall anchors cannot support dynamic impact loads, no matter how many fasteners you install. Grab bars must be anchored directly into wall studs or structural wood blocking installed inside the wall cavity prior to tiling. Never rely on standard towel bars or adhesive handrails for support. For a comprehensive walkthrough on structural safety upgrades, read our guide to designing a safe bathroom for seniors.
Common Mistakes and How to Avoid Them
- Mixing inconsistent metal undertones. Pairing cool-toned brushed brass with bright yellow gold makes a bathroom look piecemeal. Stick to hardware from the same manufacturer collection to ensure color fidelity. In Deante product codes, for instance, finish variants are indicated by designated letters: N signifies matte black, while R denotes brushed gold.
- Leaving layout decisions until after tiling. Postponing accessory placement often forces you to drill directly into the center of expensive tiles rather than catching convenient grout lines. Map your accessory points during the early stages of bathroom interior planning.
- Using adhesive mounts for long towel rails. The leverage created by a wide bar paired with the weight of wet bath sheets causes peel-away adhesive failure within months.
- Letting water air-dry on matte black fixtures. In hard-water areas, water droplets dry into stubborn white mineral rings. Keep a small squeegee or microfiber cloth handy to dry dark surfaces, or choose brushed metallic finishes that hide spots naturally.
- Skimping on towel hanging capacity. Plan at least one dedicated hook or rail section per family member. Layering multiple damp towels over a single hook traps moisture, slows drying, and produces sour odors.
A high-performing bathroom design depends on sound materials, durable finishes, and meticulous installation. By choosing solid brass or stainless steel, selecting coatings that match your local water profile, and laying out exact mounting heights before drilling, you ensure your hardware stays sturdy and looks pristine for years to come. Explore Vipex's complete catalog of bathroom accessories or stop by our showroom to inspect finishes in person and build a cohesive collection for your home.