A Comprehensive Guide to Ceramic Tile Installation and Maintenance
Did you know that while a professional tile installation can last over 50 years, a single error in the substrate can lead to cracks within the very first season? Achieving a high-quality, lasting finish depends on technical precision and proven methods that protect your investment for decades to come.
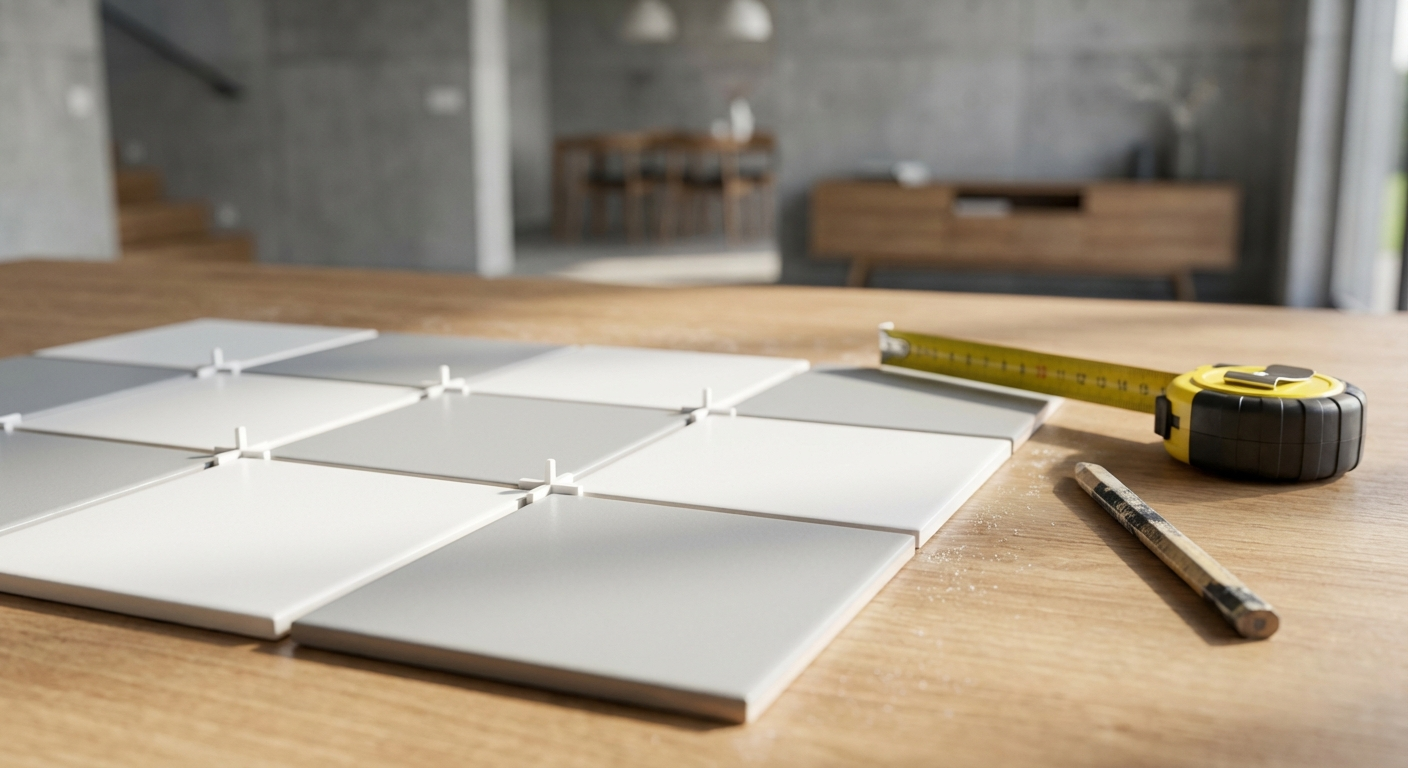
Planning and Material Selection
The foundation of any successful project is planning your ceramic tile purchase with precision. Always account for a waste margin of at least 10%. For complex layouts or intricate patterns, increase this to 15% to cover cutting losses and ensure you have matching replacement tiles for any future repairs. When selecting materials, let the room’s function and expected foot traffic guide your choice. In bathrooms, safety is paramount; R10 slip-resistant tiles are the gold standard, providing essential grip even when surfaces are wet.
For commercial environments and high-traffic zones, prioritize products with superior wear resistance, specifically those with a PEI rating of IV or V. If you are looking for a timeless aesthetic, Metro White wall tiles—with their iconic beveled edges—remain a sophisticated choice for both residential kitchens and professional restaurant interiors. Quality materials and accurate quantities are the prerequisites for a professional result.
Critical Installation Stages and Common Pitfalls
Industry standards, such as ANSI A108 and TCNA guidelines, confirm that a tile’s durability is only as good as its substrate. Most common bathroom renovation mistakes stem directly from poor surface preparation. The substrate must be rigid, clean, and perfectly level; any deflection or unevenness will eventually cause tiles to loosen or grout lines to crumble. Always verify the flatness of the surface and apply a leveling compound if necessary before you ever open a bag of adhesive.
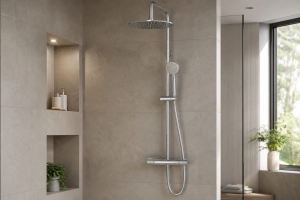
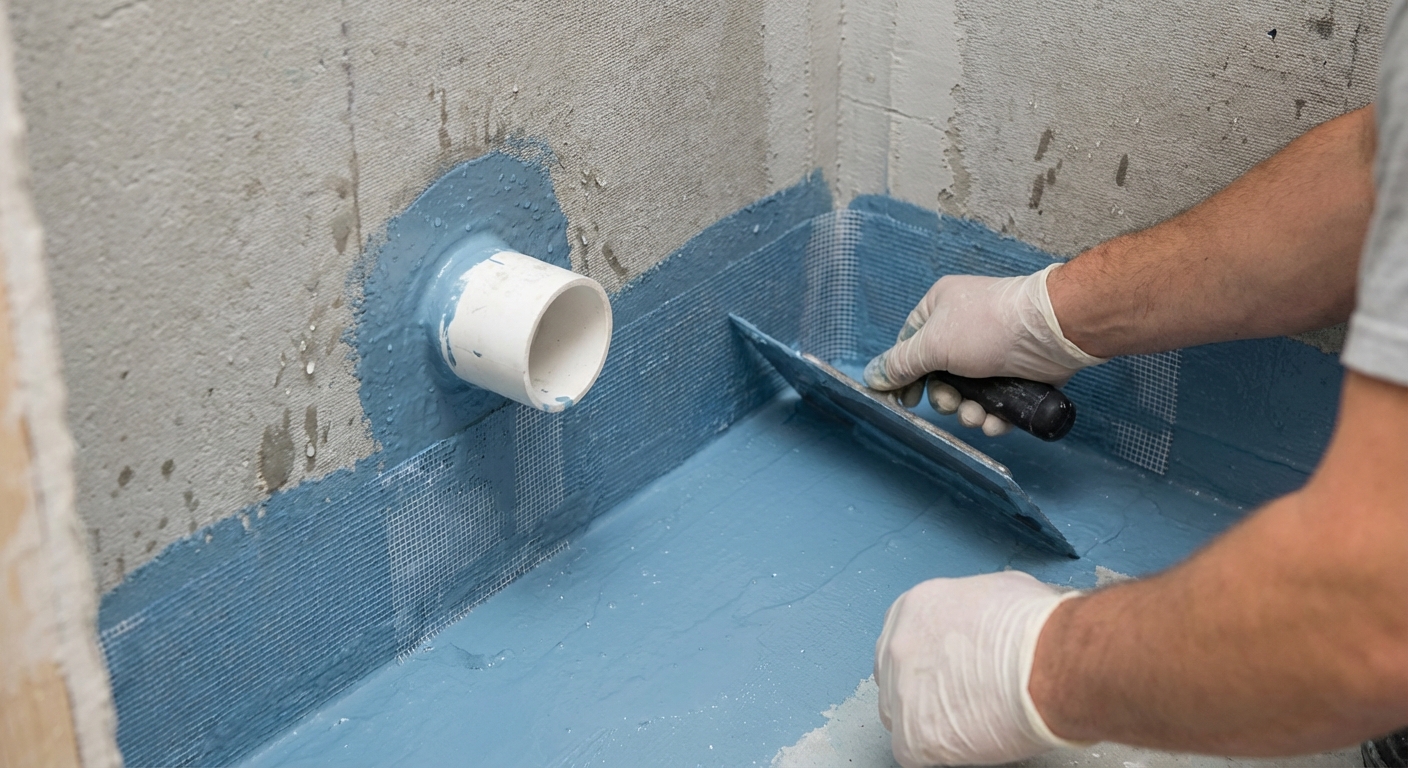
Waterproofing and Corner Details
In wet rooms, certified waterproofing is a non-negotiable step. Pay close attention to corner joints and pipe penetrations, using specialized reinforcement tapes to create an impermeable barrier. This is the single most effective way to prevent mold in the bathroom and shield the building's structure from costly water damage. For all internal corners and transitions between different materials, use a flexible sealant like Ceresit CS 25 sanitary silicone. It is specifically formulated to be mold-resistant and maintain a watertight seal as the building settles.
Expansion Joints and Movement
For large installations, particularly in commercial or outdoor settings, expansion joints are essential to accommodate the natural thermal expansion of materials. Indoors, perimeter joints should be at least 6 mm wide, while structural expansion joints should be at least 10 mm. Neglecting these technical requirements is the leading cause of tile cracking during temperature fluctuations. To effectively relieve stress, these joints must cut through both the tile and the adhesive layer down to the substrate.
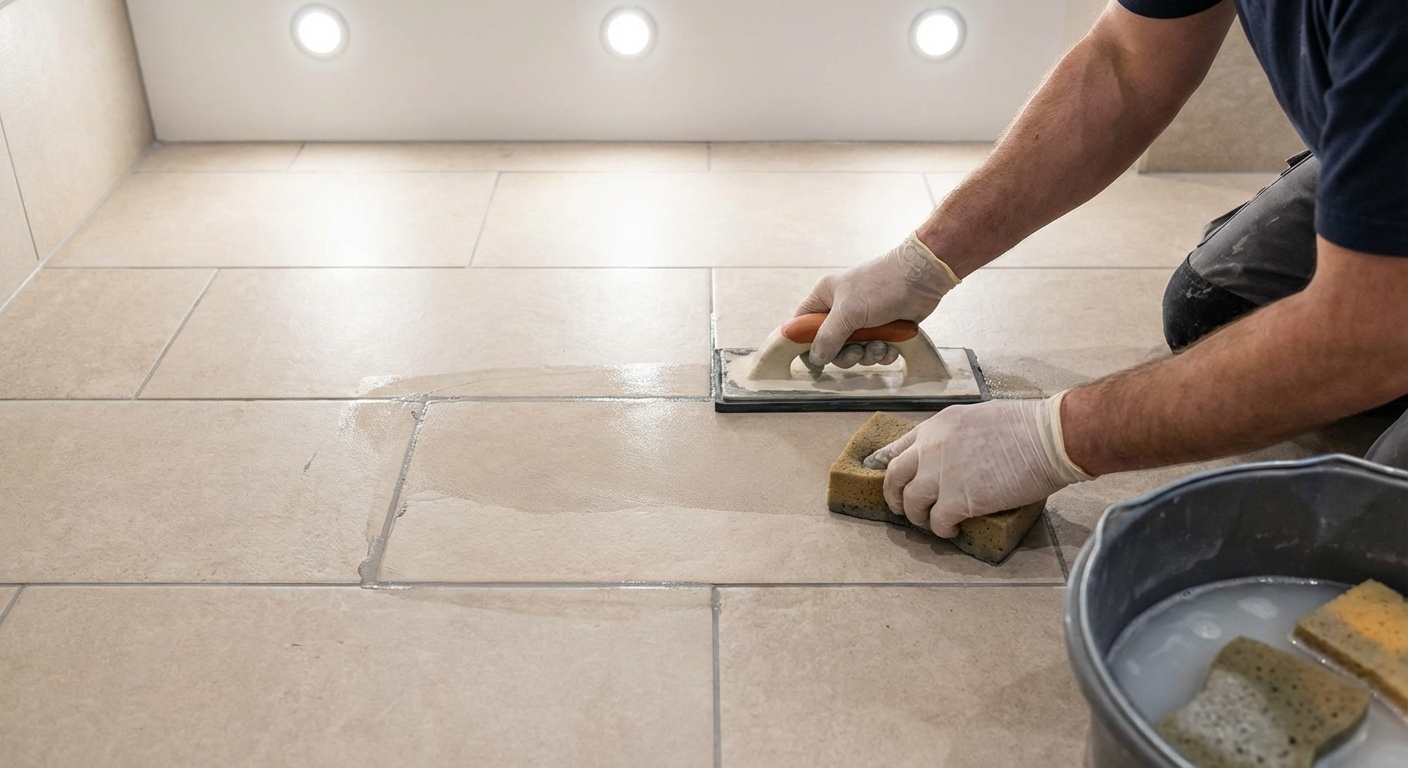
Grouting: The Key to Long-Term Durability
Grout selection is about more than just color; it dictates the hygiene and maintainability of your floor. For residential projects and surfaces with underfloor heating, Ceresit CE 40 Aquastatic is the ideal choice. Its water-repellent technology keeps joints cleaner for longer and prevents cracking, making it perfect for high-moisture areas like showers.
In heavy-duty commercial environments—such as industrial kitchens or food processing plants—surfaces are often exposed to harsh chemicals and acidic cleaners. In these cases, Ceresit CE 89 epoxy grout is indispensable. This two-component grout is non-porous, completely waterproof, and offers maximum chemical resistance, ensuring a long lifespan under the most demanding conditions.
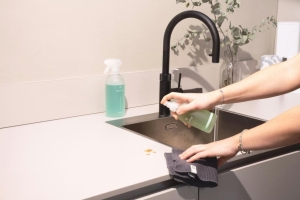
Maintenance Techniques to Extend Tile Life
To preserve the finish of your ceramic tiles, always use pH-neutral cleaning agents (pH 7). While highly acidic cleaners (around pH 2) can strip away stubborn mineral deposits, they will eventually etch cement-based grouts and can permanently dull the tile's surface.
- Use a soft mop and neutral detergent for daily cleaning to protect the integrity of the grout.
- Periodically inspect silicone joints and replace them at the first sign of wear to prevent moisture from seeping behind the tiles.
- Ensure outdoor tiles are thoroughly cleaned before winter to prevent dirt and ice buildup from damaging the joints during freeze-thaw cycles.
By selecting the right materials and adhering to professional installation standards, you ensure your tiled surfaces remain beautiful and functional for decades. Explore the extensive collection at the Vipex e-shop to find the perfect ceramic tiles for your next project.