How to Install Glass Blocks: A Comprehensive Guide to Modern Bathroom Design
Glass blocks are a timeless architectural choice for those looking to flood a room with natural light without compromising privacy. Whether you are designing a walk-in shower or a decorative partition, glass blocks offer a unique blend of modern aesthetics, acoustic insulation, and thermal efficiency.
Choosing Your Installation Method: Mortar vs. Adhesive
The first step in any glass block project is selecting the installation method that best suits your space, structural requirements, and DIY skill level.
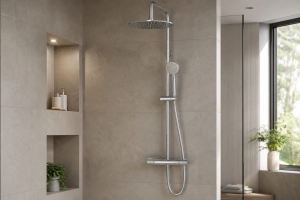
- Mortar Installation: This is the traditional, time-tested approach. It provides the highest structural integrity and is suitable for both interior and exterior walls. Using a specialized glass block mortar, this method creates a rigid, waterproof bond. Because mortar fills the joints entirely, it offers superior moisture resistance, making it the industry standard for walk-in showers and wet rooms.
- Adhesive and Spacer Systems: Systems like Seves Quicktech are designed for efficiency and ease of use, making them a favorite for DIY enthusiasts. This method replaces heavy mortar with specialized adhesive and plastic profiles. While it is faster and cleaner to install, it is generally recommended for interior decorative partitions with a maximum surface area of 4 m².
Essential Tools and Materials
A high-quality finish depends on having the right materials ready before you begin. For a professional-grade installation, you will need:
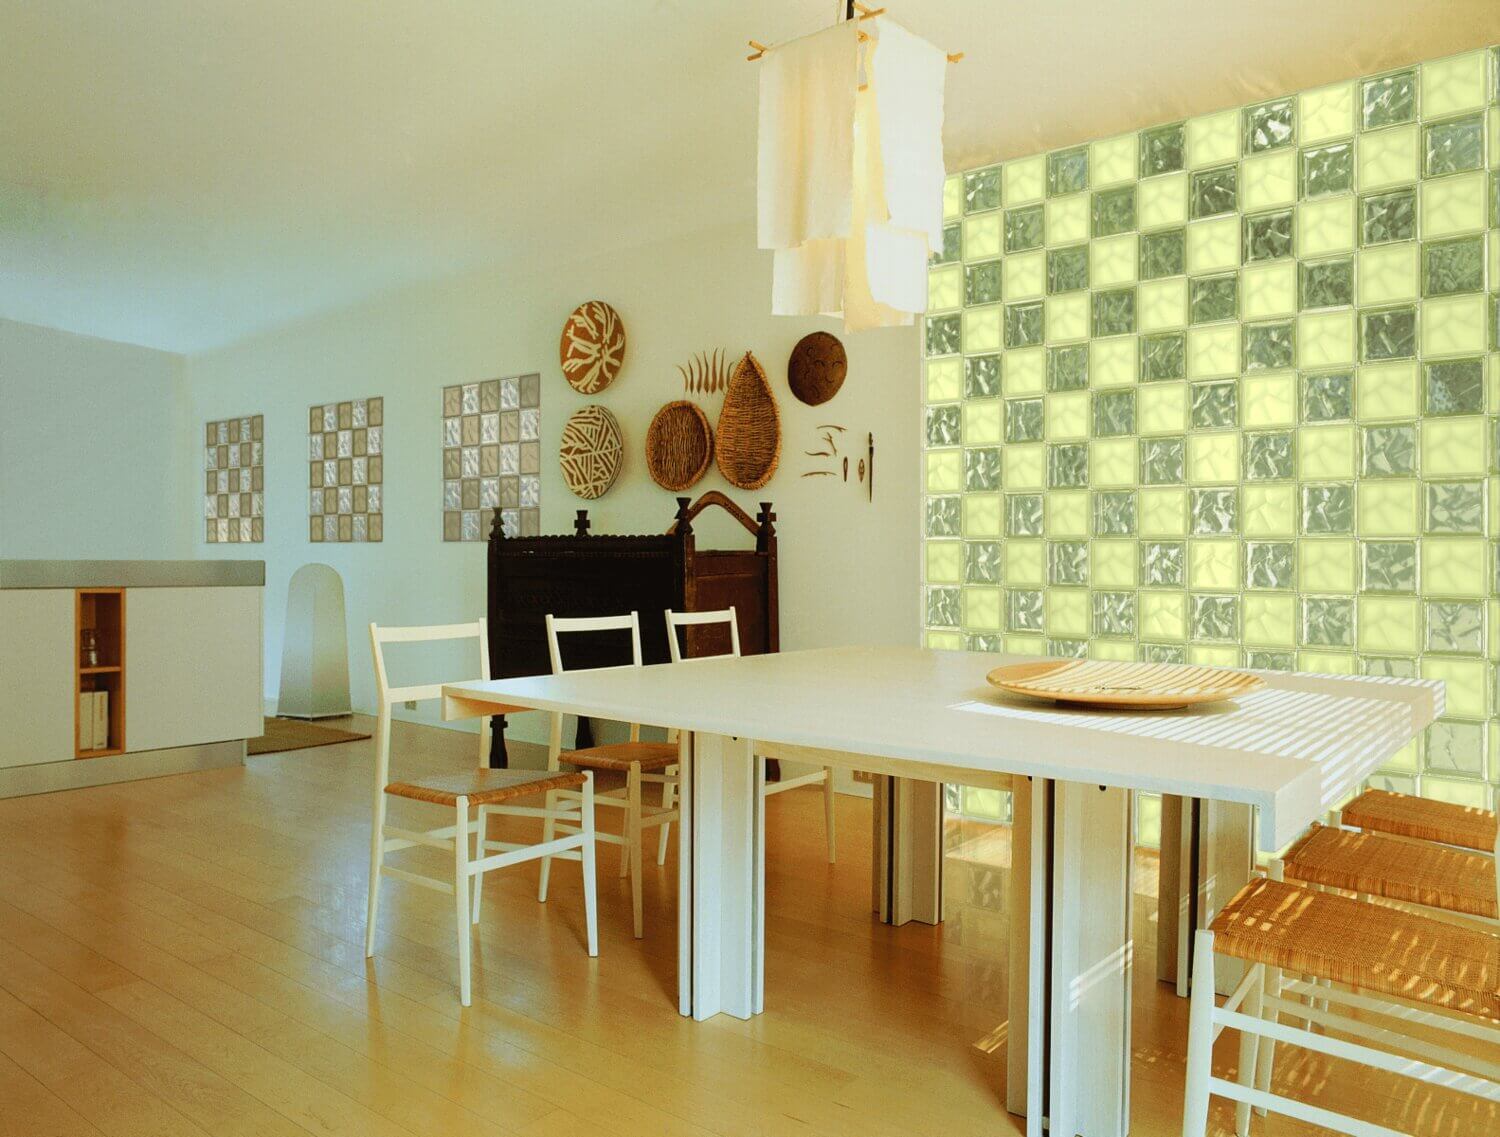
- Glass Blocks: Choose a style that fits your aesthetic, such as the classic Wave pattern glass block for distorted privacy or the crystal-clear Seves Alpha glass block for maximum transparency.
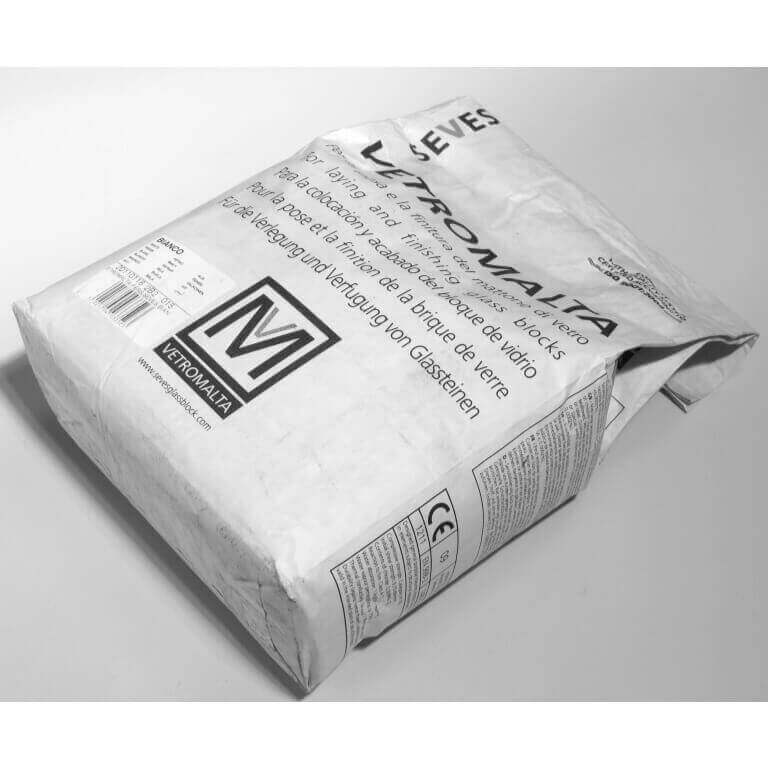
- Bonding Agent: Either traditional mortar or a specialized glass block adhesive.
- Alignment Tools: Glass block spacers are essential for maintaining uniform 10mm joints.
- Structural Support: Stainless steel reinforcement rods or ladder wire to provide vertical and horizontal stability.
- Standard Tools: A tape measure, spirit level, rubber mallet, trowel, and a dense cleaning sponge.
The Step-by-Step Installation Process
Precision is paramount when working with glass. Because the material is transparent and unforgiving of misalignment, following a systematic approach is vital.
1. Planning and Substrate Preparation
Measure your rough opening and calculate the number of blocks required. Remember to account for the joints (typically 6–10 mm) in your total dimensions. The installation surface must be clean, dry, and perfectly level. If you are building a shower wall, ensure the base is properly waterproofed before the first block is laid.
2. Setting the Foundation Row
Apply a 10mm layer of mortar to the base. Position the first block and use a spirit level to verify it is perfectly plumb. Insert spacers at the corners and apply mortar to the vertical side of the block before placing the next one. The accuracy of this first row dictates the alignment of the entire wall.
3. Stacking and Reinforcing
Continue laying blocks row by row, checking for level and plumb every step of the way. To prevent structural cracking, install horizontal reinforcement rods every second row. For walls exceeding 1.1 m² (approximately 12 square feet), these rods must be securely anchored into the adjacent wall for stability.
4. Grouting and Final Cleanup
Allow the structure to cure for 24 to 48 hours. Once the mortar is firm, snap off the visible tabs of the spacers and fill the joints with grout. Use a damp sponge to wipe away excess mortar from the glass surfaces before it hardens. Dried mortar residue is notoriously difficult to remove from glass, so clean as you go.
The Advantages of the Quicktech System
For those looking to avoid the mess and "cure time" of traditional masonry, the Seves Quicktech installation system is an excellent alternative. By using specialized mounting profiles instead of mortar beds, you can achieve a sleek, minimalist look with much tighter joints. This system is particularly effective for interior design accents where speed and a clean finish are the primary goals.

Frequently Asked Questions
How long does it take to build a glass block wall? While timing varies by project size, a standard row usually takes 10–15 minutes to set correctly. A small partition can often be completed in a few hours, though you must account for the 24-48 hour curing period before grouting.
Can a beginner handle this project? Yes. While it requires patience and attention to detail, glass block installation is a manageable DIY task. Using a spacer system significantly reduces the margin for error regarding alignment.
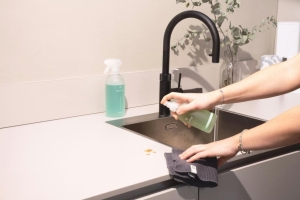
How do I maintain glass block joints? In high-moisture areas like bathrooms, joints should be cleaned regularly with a non-abrasive, mild cleaner to prevent mold growth. Periodically inspect the grout for any hairline cracks; if any appear, they should be resealed promptly to maintain the wall’s watertight integrity.
By choosing the right materials and following these professional steps, you can transform a standard bathroom into a bright, architectural space that balances privacy with an open, airy feel.